Pro Tip:
You do not have to claim each earned CME credit individually. While you may claim any number of earned credits, we highly recommend accumulating batches of earned CME credits before generating your certificate(s).
Our platform allows you continually accrue earned CME credits and aggregate them into a single certificate per course title. Both CME topics and the CME credit(s) earned will be displayed. This makes it particularly easy to document special credit earnings.
Claiming CME Credits
1. On the left menu, click/select CME Credits, then Claim CME. From your dashboard, select Earn > Claim CME Credits.

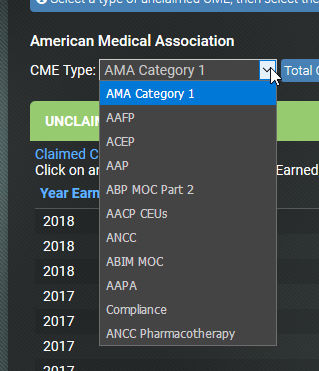
2. Select the type of CME desired from the CME Type drop down menu if other than AMA Category 1 (this is the default). NOTE: Your course may only offer one type of credit.
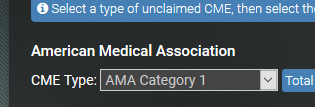
If your course provides a different type of credit, you may select it from the drop down list (for example, the Med-Challenger EM course provides both AMA Category 1 credit and ACEP credit).
3. To claim ALL credits earned, click the topmost checkbox on the right - this will automatically select all credits available.
Note: If work was completed in different courses, one PDF will be generated that may contain multiple certificates from all courses selected when using this method.
You may also manually select specific topics and amounts of CME to process if preferred by selecting the individual check boxes.

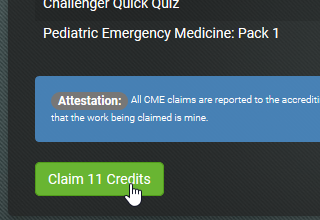
4. Scroll to the bottom of the page and click/tap the Claim 'XX' number of CME button
5. A preview certificate will be generated. Please make sure your name is the way you desire it to be listed (if it is not, click Cancel, go to your Profile and update your Display Name). If it is, click Generate Certificate at the bottom of the page.

6. If possible, complete the Optional Evaluation and Feedback Form.

7. When the process has finished, a Success! message will appear.

8. To view, download or print your certificate, click the Claimed tab then Open (if you have a long list, click the Date title to sort the claims by date claimed, year earned or Credits. See figure A):
Figure A - sort by Date Claimed
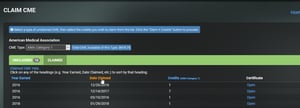
Click Open to view